 how-to
5 Steps to Choose Law Enforcement Duty Gear That Fits
Quick Summary
Choose duty gear by starting with your department's policy manual and approved equipment list, then building a checklist of core categories like carry system, lighting, protection and tools. Test each item for fit and comfort over a full shift before committing. Within those rules, prioritize essentials first and buy durable gear.
- Check your agency's policy manual and approved equipment list before buying anything.
- Build a checklist covering carry system, lighting, protection, hand and body gear, and tools.
- Mark each item as required, recommended or optional, then compare the list against your budget.
- Buy the essentials first and wait on specialty accessories until you know what you actually use.
- Test your belt and gear over a full shift and check for red marks, numbness or chafing afterward.
Table of Contents
- Start With Your Department Policy and Required Equipment
- Build a Law Enforcement Duty Gear Checklist
- Set Up Your Police Duty Belt Setup for Balance and Access
- How to Choose a Police Duty Holster Rated for Retention
- Test Duty Gear Comfort and Fit Over a Full Shift
- Budget for Recruits Without Buying Gear You Will Replace
- Order Your First Duty Kit and Schedule a Fit Check
- Frequently Asked Questions
5 Steps to Choose Law Enforcement Duty Gear That Fits
Last Updated: October 28, 2026
Start With Your Department Policy and Required Equipment
Choosing the right duty gear starts with a question most officers skip: what does your department actually require? Before you look at a single holster or belt, check your agency's policy manual and uniform regulations. They set the baseline for what you can wear and carry, and buying outside those rules wastes money.
Here is what to pin down first:
- Approved equipment list: Note which holsters, magazines, flashlights and carriers your agency allows.
- Uniform standards: Check colors, patch placement and any rules on personal add-ons.
- Issued versus personal gear: Know what the department supplies so you don't double-buy.
- Training requirements: Some academies require specific gear for qualification courses.
Gear that breaks policy can cost you more than the purchase price. Start with the rules, then shop within them.
Build a Law Enforcement Duty Gear Checklist
A written checklist keeps your purchases focused. Think of it as the bridge between policy and the actual items you'll buy. Most officers need the same core categories, even if the specific products vary.
Build your list around these categories:
- Carry system: Duty belt, holster, magazine pouches and handcuff carrier
- Lighting: A duty flashlight sized for your hand and your agency's standards
- Protection: Ballistic vest, carrier and any approved outer layers
- Hand and body gear: Tactical gloves, footwear and weather layers
- Tools: Radio carrier, CPR mask pouch and trauma kit if issued or allowed
Mark each item as required, recommended or optional. Then compare the list against your budget. This keeps you from buying an expensive accessory before you have a reliable holster.
Watch out: Don't assume a popular item is approved. A holster that works well on the range may not meet your agency's retention rules.
Set Up Your Police Duty Belt Setup for Balance and Access
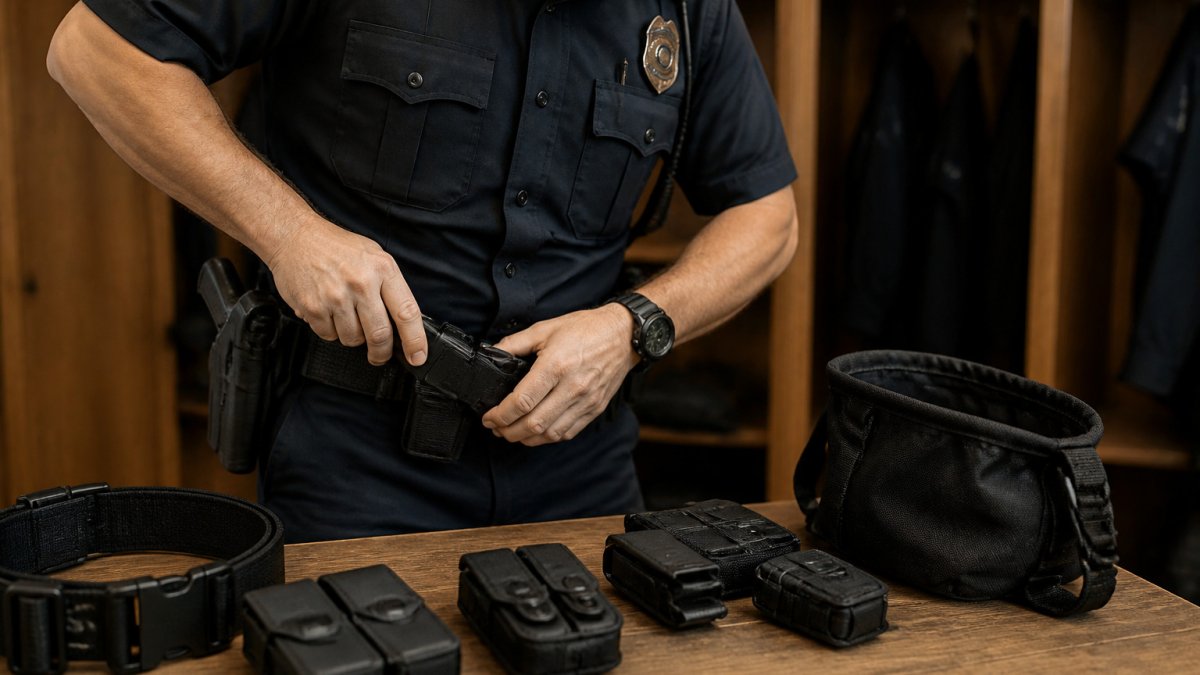
Your duty belt is the single heaviest piece of gear you wear, and how you configure it determines whether you finish a shift with sore hips or a cumulative injury. A typical patrol belt loaded with a firearm, two spare magazines, handcuffs, radio, flashlight, OC spray, baton, and a trauma kit can weigh 15 to 25 pounds, weight that hangs entirely from your waist and pulls on your lower back, hips, and sciatic nerve with every step. The goal is not just access; it is distributing that load so your body can tolerate it for a 20-year career.
Weight Distribution: The 60/40 Rule and Why It Matters
A common pattern is to alternate heavy and light pouches around the belt rather than clustering all weight on one side. This prevents the belt from rotating and keeps pressure points from concentrating on a single spot. Test the setup by sitting in a patrol car, bending to check a license plate, and climbing stairs, if the belt shifts or digs into your hip flexor, reposition before your next shift.
Fixed Versus Modular Belt Systems
- Fixed belts: Each pouch has a dedicated loop or keeper, so placement never changes. This builds muscle memory and eliminates the risk of a pouch migrating under stress. The trade-off is that adding or removing gear requires a new belt or a trip to a tailor.
- Modular belts: These use MOLLE webbing or similar attachment systems, letting you move pouches to suit your body, assignment, or seasonal layers. Modularity is valuable for officers who rotate between patrol, court, and specialized details, but poorly tensioned webbing can let pouches shift during a foot pursuit.
Pick the style that matches how often your gear changes.
The Load-Bearing Vest Alternative
A growing number of agencies allow or issue load-bearing vests that move radio, magazines, and even handcuffs off the belt and onto the torso. This shifts weight from your hips to your shoulders and back, which many officers find reduces lower-back fatigue over a full shift. The trade-off is heat retention and a change in draw stroke for items now carried on the chest. Before investing, confirm your department's policy on vest-mounted gear and whether your ballistic carrier is rated to accept it.
Quick Belt Fit Checklist
- Belt width matches your holster and pouch attachments (typically 2 to 2.25 inches for duty belts)
- Buckle sits flat and does not dig into your abdomen when seated
- No pouch crosses your centerline in a way that blocks access to your firearm
- Belt keepers (at least four) hold the inner and outer belts together
- All pouches pass a shake test, nothing shifts when you run 20 yards
The table below summarises the belt configurations discussed in the article, so you can compare the trade-offs at a glance.
| Setup | Best for | Key difference |
|---|---|---|
| Fixed belt | Consistent daily carry | Pouches never move; adding gear needs a new belt |
| Modular belt (MOLLE) | Officers rotating assignments | Pouches reposition easily; poor tension can cause shifting |
| Load-bearing vest | Reducing lower-back fatigue | Shifts weight to shoulders; adds heat retention |
| Belt keepers (at least four) | Holding inner and outer belts together | Keeps the belt stable under load |
| Typical patrol belt load | Full patrol kit | Roughly 15 to 25 pounds hanging from the waist |
How to Choose a Police Duty Holster Rated for Retention
Look for a holster that matches your firearm exactly, has a secure locking mechanism and sits in a position you can access with either hand if policy requires it. For guidance on picking a holster by carry position and fit, read How to Choose a Concealed Carry Holster for Appendix Carry. Check that the holster fits your belt width and that the retention device works smoothly without slowing your draw.
Retention Levels and Where You Carry
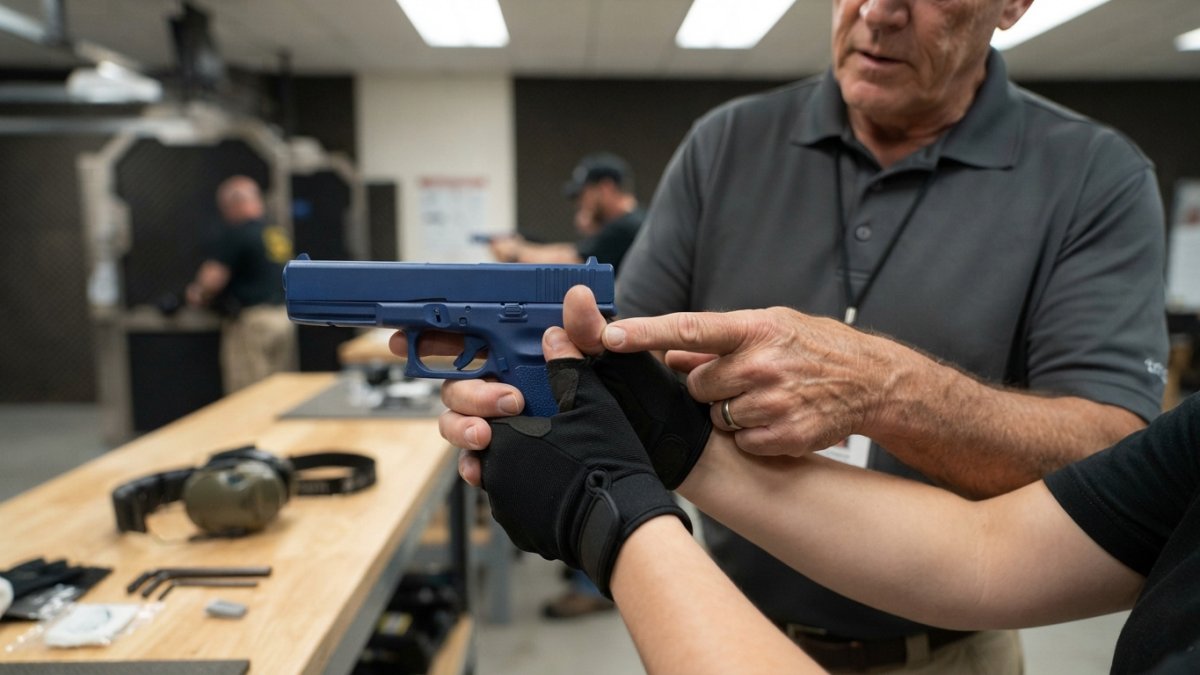
Test your holster with a dummy weapon or under supervision before carrying it on duty. Make sure it holds the firearm firmly when you bend, run and get into a vehicle.
Test Duty Gear Comfort and Fit Over a Full Shift
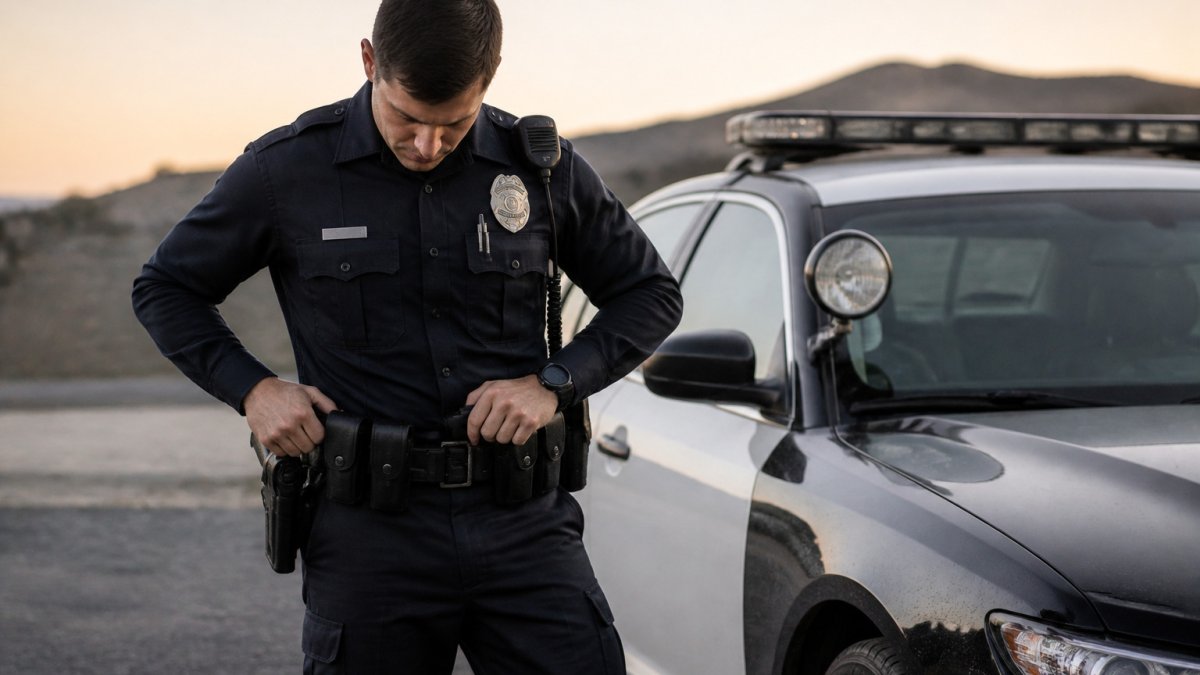
Comfort is not a luxury, it is a safety and longevity issue. The physical toll of duty gear accumulates quietly: a belt that digs into your hip for eight hours a day can compress the lateral femoral cutaneous nerve and produce meralgia paresthetica (numbness or burning on the outer thigh), while unsupportive footwear contributes to plantar fasciitis and knee pain that ends careers early. Most gear guides tell you what to carry; this section addresses how to test whether your setup will still work for your body at hour ten, month six, and year ten.
The Full-Shift Test Protocol
- End-of-shift check: After eight hours, inspect your hips, waist, and shoulders for red marks, numbness, or chafing. Persistent marks mean the setup needs adjustment, not just a thicker undershirt.
Footwear and Sock Interaction
Boots are the other half of the comfort equation. A common pattern is for officers to spend heavily on a duty belt and then wear inexpensive boots that lack arch support or have worn out after six months. Look for boots with a defined heel counter, a replaceable insole, and a sole rated for slip resistance on wet pavement and oil. Sock choice matters too: moisture-wicking merino or synthetic blends reduce blister risk and fungal growth during long shifts, especially in humid climates. Rotate at least two pairs of boots so each pair fully dries between shifts, this extends boot life and reduces foot odor and skin breakdown.
Cumulative Trauma: What to Watch For Over Months
If any of these persist, address the gear before they become chronic. Many departments offer wellness or ergonomic assessments; ask your supervisor or union representative whether one is available.
When to Adjust Versus Replace
Watch out: Do not mask a fit problem with padding.
Budget for Recruits Without Buying Gear You Will Replace
- Buy the essentials first: Holster, belt and carry gear that meet policy
- Wait on specialty items: Add accessories after you learn what you actually use
- Choose durable over cheap: Gear that fails on shift costs more over time
- Ask about issued gear: Many departments provide core equipment
Pricing varies widely by brand, material and vendor, so check current prices directly with each retailer. Avoid buying based on a single price comparison from a past year.
Order Your First Duty Kit and Schedule a Fit Check
Gear that fits your agency's rules, your body and your daily work is worth taking the time to get right. Start with policy, build your checklist and test everything before your next shift.
Frequently Asked Questions
What gear do police officers carry on duty?
Most officers carry a duty belt with a holstered sidearm, spare magazine or speedloader pouches, handcuffs, a flashlight, a radio holder, and a trauma kit or tourniquet. Many also wear a ballistic vest and carry a body-worn camera. Exact requirements depend on your department's written policy, so check that first. Buy only what your agency authorizes or permits, then add personal items such as gloves or a multitool within policy limits.
How do I choose a duty belt setup?
Start with the items your department requires, then position them so your dominant hand reaches the firearm and magazines without cross-body reaching. Test the belt fully loaded and seated at your waist, then sit, bend, and draw. A fixed belt is simple and stable, while a modular system lets you change pouch layout between assignments. Choose the option that matches your department's uniform rules and your daily workload.
What should a new law enforcement officer buy first?
A new officer should first buy the items the academy or department requires, such as the duty belt, holster, and boots meeting uniform standards. Wait on optional accessories until you have worked a few shifts and know what you actually reach for. Pricing varies by manufacturer, quantity, and delivery, so request a current quote from your supplier rather than relying on estimated figures.
How should a duty holster fit and function?
A duty holster should fit your specific sidearm model, hold it firmly without shifting, and release it with a consistent draw. Check the retention level, which is the number of steps needed to free the weapon, and confirm it matches your agency's standard. The holster should sit at a height that lets your hand reach the grip naturally without leaning forward. Test the draw repeatedly with the belt on before you rely on it.