 how-to
Pistol Grip Mistakes: Fixes Every New Shooter Needs
Last Updated: November 9, 2026
Quick Summary
The most common pistol grip mistakes for new shooters involve pressure, placement, and tension. Gripping too loosely lets the gun twist and can cause malfunctions, while gripping too tightly causes tremor and fatigue. Fix both by placing the shooting hand's web high on the backstrap and keeping the support hand fully wrapped.
- Grip too loosely and the pistol can twist in the hand and cause malfunctions.
- Gripping too tightly causes tension, small movements, and fatigue during longer sessions.
- Push the web of your shooting hand high onto the backstrap for more control and less muzzle flip.
- Keep the strong-side thumb relaxed and pointed forward, not pressed onto the slide.
- Have the support hand carry at least as much pressure as the shooting hand.
Table of Contents
- Why Your Grip Decides Where the Shot Goes
- Gripping Too Loosely vs. Too Tightly
- Hand Placement, Thumb Position, and the Web of the Hand
- Handgun Grip Pressure Guide: Distributing Force Across Both Hands
- How to Prevent Limp Wristing Before It Starts
- Best Shooting Stance for Beginners and How It Supports Your Grip
- Diagnosing Grip-Induced Malfunctions and Fixing Them
- Building Your Grip Practice Routine at Home and on the Range
- Frequently Asked Questions
Why Your Grip Decides Where the Shot Goes
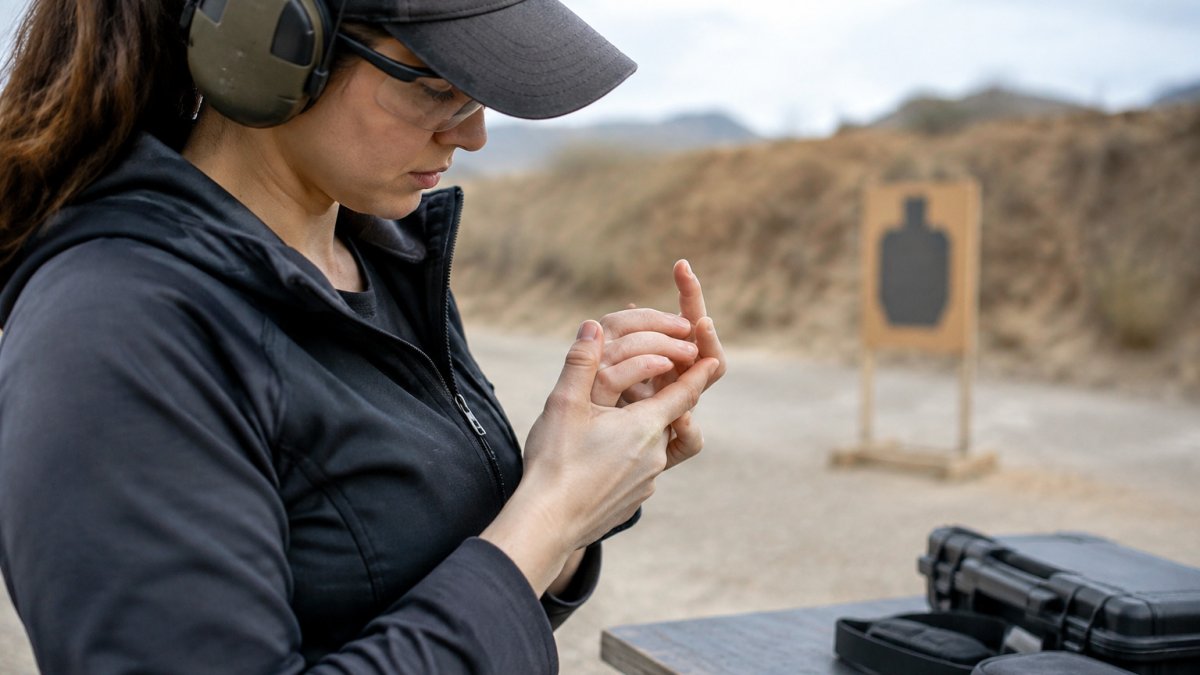
Your grip is the one part of shooting you control completely, and it has more influence on accuracy than most beginners expect. Shooters often blame the sights or the ammunition when a group opens up. In many cases, the real cause is how the hands are holding the gun.
Most grip mistakes made by new shooters are easy to fix once you know what to look for. Common pistol grip mistakes for new shooters usually come down to pressure, placement, and tension.
A firm, consistent grip helps the gun return to the same spot after each shot. For broader accuracy fundamentals beyond grip, read how to improve shooting accuracy for beginners. A poor grip lets the muzzle drift, flip, or jerk as the gun fires. That movement moves your shots off target.
- Pressure controls how the gun moves under recoil
- Placement controls how the gun sits in your hand
- Consistency controls whether your shots group together
Gripping Too Loosely vs. Too Tightly
Many new shooters grip too loosely because they fear recoil. A loose grip lets the pistol twist in the hand. The slide may also fail to cycle correctly, which can cause a malfunction.
Gripping too tightly causes a different problem. Excess tension in the hands and forearms makes small movements more likely. It can also cause fatigue fast, especially during longer range sessions.
Aim for a firm grip, not a squeeze. You want enough pressure to hold the gun steady without trembling.
Watch out: A grip that is too tight can pull the muzzle down or to the side when you press the trigger. Check your forearms during dry fire. If they feel tense, ease off a little.
Hand Placement, Thumb Position, and the Web of the Hand
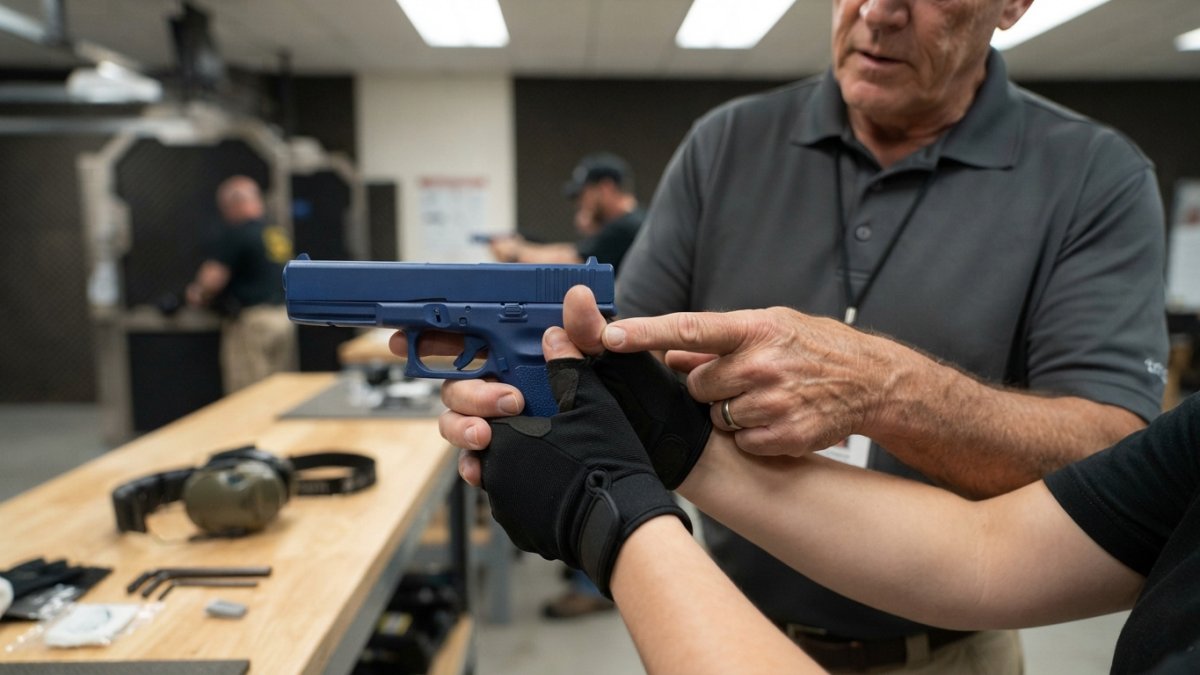
Hand placement starts with the web of your shooting hand. Push that web high onto the backstrap, as far up as it comfortably goes. A high grip gives you more control and reduces muzzle flip.
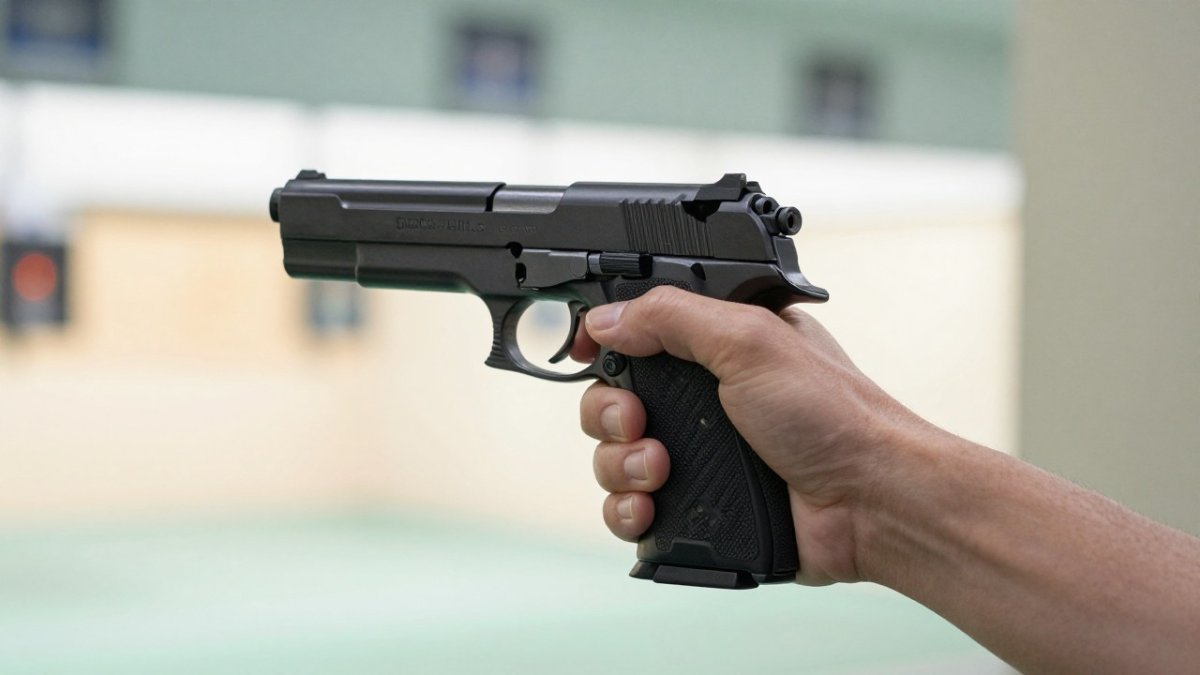
Your thumb position also matters. Keep your strong-side thumb relaxed and pointed forward. Avoid resting it on the slide, since that can interfere with cycling and cause a stovepipe malfunction.
Your support hand should wrap around the firing hand and fill any gaps. Many beginners leave the support hand loose or push only with the fingertips. A full, firm wrap gives you a stable platform.
- Web of the shooting hand high on the backstrap
- Strong-side thumb relaxed, not pressed onto the slide
- Support hand fully wrapped around the firing grip
Handgun Grip Pressure Guide: Distributing Force Across Both Hands
Most grip advice stops at "firm, not tight." That leaves new shooters guessing how much force goes where. A more useful approach is to think in terms of a pressure split between your dominant (shooting) hand and your support hand, then adjust that split based on what the muzzle does during dry fire and live fire.
The point is that the support hand should carry at least as much pressure as the shooting hand, because the shooting hand also has to manage the trigger without disturbing the sights.
Here is one way to test and tune your grip balance:
- Set your grip with what feels like even pressure in both hands.
- Dry fire five slow repetitions and watch the front sight. If the muzzle dips or pulls left (for a right-handed shooter), your shooting hand is probably over-gripping.
- Shift pressure toward the support hand in small increments, think 10 percent at a time, and repeat the dry fire.
- When the sight stays flat through the trigger break, you have found your baseline split.
- Confirm it in live fire with a few shot groups at a short, consistent distance. If groups open up as you speed up, return to the baseline and rebuild.
Pressure distribution also changes with hand size and firearm fit. A shooter with small hands on a double-stack pistol may find it hard to get full support-hand contact, so the dominant hand ends up doing more work than it should.
Watch out: A grip that feels correct during dry fire can fall apart under live recoil. Rebuild the grip between shots during practice until it holds automatically.
The opposing-force idea still applies: the shooting hand pulls back slightly while the support hand pushes forward.
How to Prevent Limp Wristing Before It Starts
Limp wristing happens when the wrist is too loose to lock the pistol firmly. The energy from the shot can then prevent the slide from cycling correctly. The result is often a failure to eject or a jam.
The fix is to keep the wrist firm, not stiff. Keep the gun and forearm in a straight line through the shot.
A common mistake is relaxing the wrist as you press the trigger. Practice keeping the wrist locked during dry fire. Once it becomes habit, you can carry it over to live fire.
Best Shooting Stance for Beginners and How It Supports Your Grip
A solid stance gives your grip a stable base. Read this explanation of why shooting posture matters for beginners. You can learn how to reduce muzzle flip with proper stance for better control. If your feet and body move around, your hands will move too. A balanced stance helps the entire upper body absorb recoil.
For most beginners, a modified isosceles stance works well. Square your shoulders toward the target, bend your knees slightly, and lean your upper body forward a little. Keep your weight centered over the balls of your feet.
Your stance and grip work together. A strong stance helps you hold a firm grip without tension. Good posture also reduces the strain that causes shaky hands.
Diagnosing Grip-Induced Malfunctions and Fixing Them
Grip errors do not just move shots, they can stop the pistol from cycling. The value of connecting a malfunction to a grip cause is that you can fix it at the range instead of sending the gun to a gunsmith. Here is the diagnostic chain for the four most common grip-induced failures.
Failure to eject (stovepipe or weak ejection). The slide needs a firm platform to cycle against. For a routine that helps reduce hand fatigue from shooting, see exercises to reduce hand fatigue. When the wrist is limp or the support hand is loose, the frame absorbs the recoil instead of resisting it, and the slide short-strokes.
Failure to feed. A loose grip lets the frame rotate upward before the slide finishes its rearward travel, so the slide does not pick up the next round cleanly. The round noses into the feed ramp and stops.
Slide bite. This is a placement error, not a pressure error. If the web of your shooting hand sits too low or too far forward, the reciprocating slide can pinch or cut the skin between thumb and index finger.
Muzzle dip or pull during trigger press. This is not a cycling malfunction, but it is the most common grip-induced accuracy failure. Excess dominant-hand pressure or a support hand that relaxes at the moment of the shot pulls the muzzle off target.
A simple diagnostic routine: when a malfunction repeats, stop, reset your grip from scratch, and fire three slow shots. If the malfunction disappears, the cause was grip. If it returns with a confirmed firm grip and high backstrap placement, move on to checking the magazine, extractor, and ammunition. That sequence keeps you from chasing a mechanical problem that is actually a hand problem, and from blaming your grip for a gun problem it did not cause.
Watch out: A single stovepipe is not proof of limp wristing. New shooters often over-correct by squeezing harder, which introduces tremble and a new set of accuracy errors. Confirm the pattern across at least ten rounds before changing your grip.
The four most common grip-induced problems, their causes, and the fixes the article recommends are summarised below.
| Problem | Cause | Fix |
|---|---|---|
| Failure to eject | Limp wrist or loose support hand lets the frame absorb recoil | Lock wrist in a straight line; raise support-hand pressure to 60/40 baseline |
| Failure to feed | Loose grip lets frame rotate upward before slide finishes travel | Raise shooting-hand web high on backstrap; wrap support hand tightly |
| Slide bite | Shooting-hand web sits too low or too far forward | Raise web high on backstrap; keep strong-side thumb relaxed, away from slide |
| Muzzle dip or pull | Excess dominant-hand pressure or support hand relaxing at the shot | Repeat pressure-split drill; confirm sight stays flat through trigger break |
Building Your Grip Practice Routine at Home and on the Range
Consistent practice builds a reliable grip. You do not need a lot of time. Short, focused sessions work better than long, tiring ones.
At home, use dry fire to build muscle memory. Check your hand position, thumb placement, and wrist tension before each repetition. Keep the sessions short so your hands do not fatigue.
On the range, use the same checklist every time. Start with slow fire, focus on grip consistency, and speed up only after your hold stays steady.
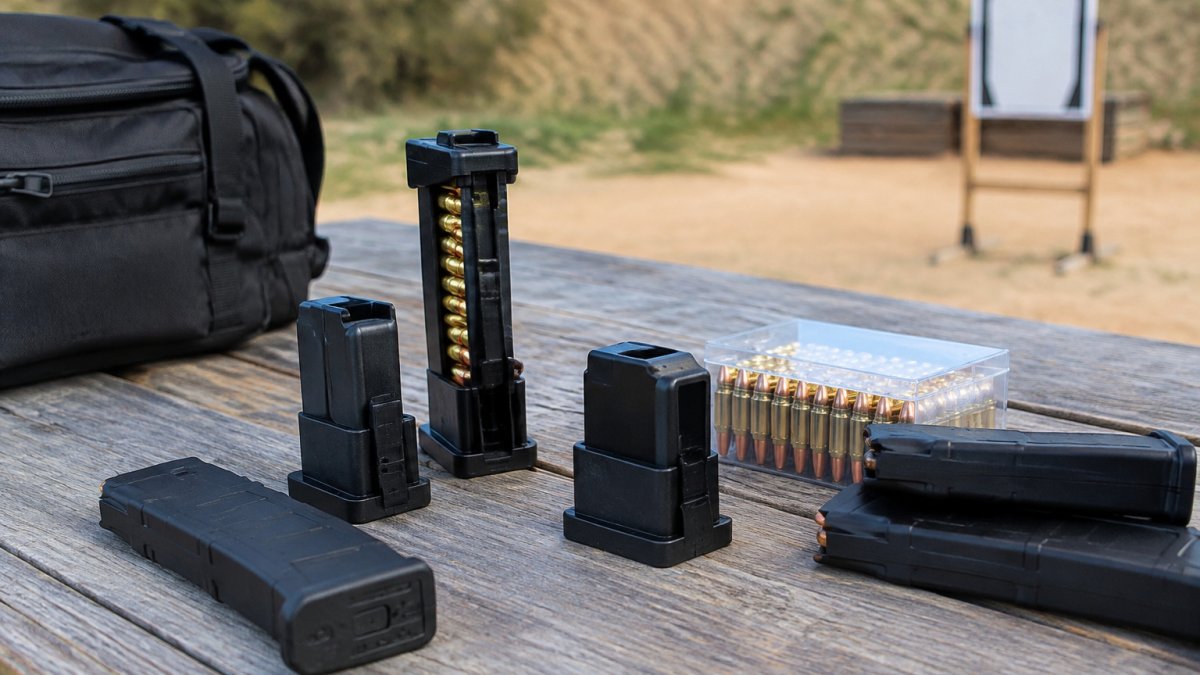
Learn more about our fast, reliable pistol speed loader options for your next range trip.
If you want to shoot more accurately and reduce hand fatigue, a strong grip is the place to start. BULLETPROOF SPEED LOADERS builds tactical gear designed for reliable, efficient use, including the EZ-MAG pistol speed loader. Get started with the right gear for your shooting goals today.
Frequently Asked Questions
What is the proper way to hold a pistol for beginners?
Start with a high, firm grip, placing the web of your dominant hand as high as possible on the backstrap so the frame sits in the V between thumb and index finger. Wrap your fingers evenly around the grip without squeezing the slide or muzzle area. Place your support hand over the dominant hand with the fingers wrapping the front strap and the thumbs pointing forward along the frame. Both hands should press into each other, creating a consistent, repeatable shape. Dry fire this position daily, checking that the sights stay aligned as you press the trigger.
Why does my pistol jam when I shoot?
Grip is one of the most common causes of malfunctions in new shooters. A weak or inconsistent grip lets the slide cycle the action unevenly, which can cause failures to feed or failures to eject. A limp wrist absorbs recoil poorly, so the slide does not reach full cycling force. Check whether your support hand is pressing into the dominant hand, whether your web is high, and whether the gun sits in the same position each shot. If jams continue after grip corrections, check magazine condition and ammunition quality next, since those are separate failure sources.
How does grip pressure affect handgun accuracy?
Grip pressure controls how much the pistol moves during the shot. Squeezing too hard, especially with the support hand, can push the muzzle off target and disturb the trigger press. Gripping too lightly lets the gun shift and rotate under recoil, changing the sight picture from shot to shot. Most shooters do best with firm, even pressure that is strong enough to control recoil but relaxed enough to allow a smooth trigger press. Consistency matters more than any specific number, so aim to repeat the same pressure every time you shoot.
What is the 'teacup' grip and why should I avoid it?
The teacup grip is a two-hand hold where the dominant hand cradles the grip and the support hand sits beneath it like holding a cup, with the fingers of the support hand wrapped around the dominant hand's fingers. It is an older technique that places the hands in an awkward position and often leads to inconsistent pressure and poor recoil control. Most modern instruction favors a high, isometric grip where the support hand fully wraps and pushes against the dominant hand. Switch to that style gradually, and track whether your shot groups tighten after the change.