 how-to
Improve Grip Strength for Shooting Accuracy
Table of Contents
- Why Grip Strength Matters for Shooting Accuracy
- Handgun Grip Technique for Accuracy
- Grip Strength Exercises for Shooting
- How Often Should I Train Grip Strength for Shooting
- Dry-Fire Practice for Pistol Accuracy
- Hand Size, Mobility, and Accessibility
- Faster Follow-Up Shots and Shot Grouping
- Frequently Asked Questions
Last Updated: October 12, 2026
Why Grip Strength Matters for Shooting Accuracy
A strong grip is the foundation of accurate shooting: it controls recoil, stabilizes your sight picture, and speeds up follow-up shots.
Firm, even grip pressure also activates your stabilizing muscles, reduces hand fatigue during long range sessions, and builds muscle memory for consistent trigger control.
This guide covers grip technique fundamentals, progressive exercises to build grip strength, and practical drills for home or the range.
Handgun Grip Technique for Accuracy
Your grip technique matters as much as your grip strength. A weak grip with perfect form beats a strong grip with poor technique, combine both.
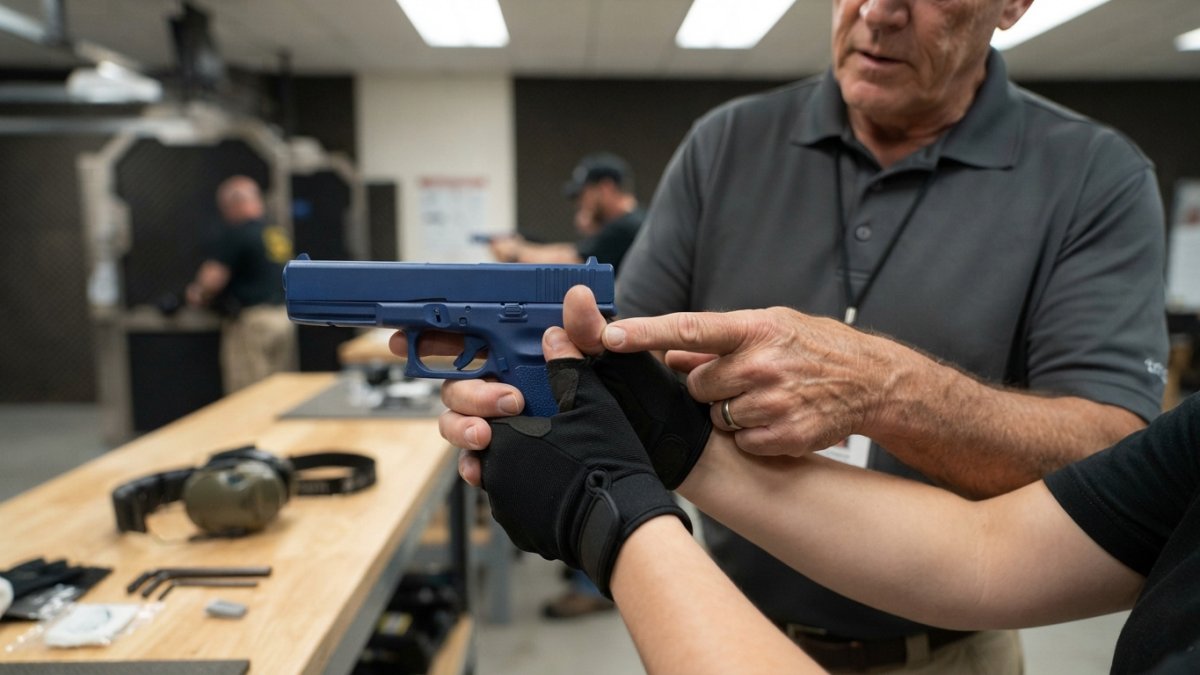
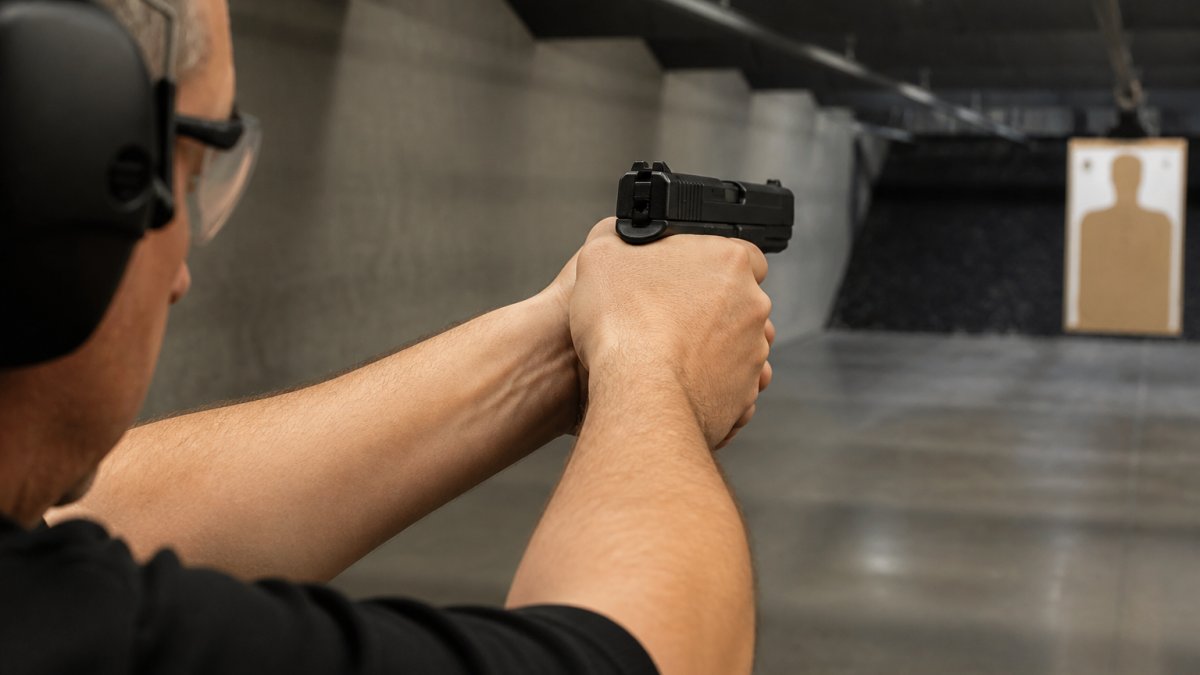
High Support-Hand Position and Contact
Your support hand is your power hand.
The high support-hand position manages recoil more effectively. Wrap all four fingers around your shooting hand and avoid gaps, complete contact means complete control.
Most shooters grip too low with their support hand, reducing mechanical advantage and slowing recoil recovery.
Firm, Even Grip Pressure
Grip pressure should be firm and consistent across both hands.
Your shooting hand should grip at roughly 70% of maximum strength, with the support hand matching that pressure. If one hand grips harder, the gun angles during recoil and shots drift.
A common mistake is relaxing your grip between shots, forcing you to re-establish it for each trigger press. Maintain firm pressure throughout your string of fire.
Recoil Management and Control
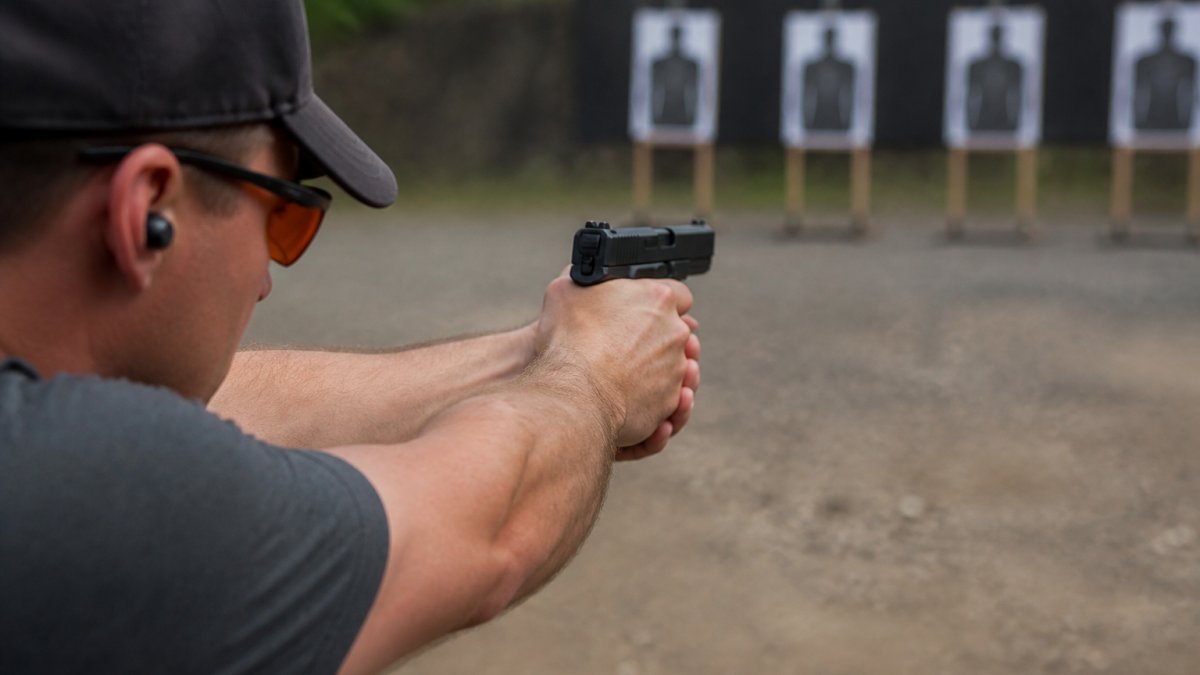
Recoil management starts with your grip. A firm grip reduces felt recoil and helps your sight picture return faster for quicker follow-up shots.
Your wrist position affects recoil control.
Recoil impulse is the force the gun pushes back into your hands. A weak grip lets that force move the gun; a strong grip keeps it stable, so you reset faster for the next shot.
Grip Strength Exercises for Shooting
Grip strength for shooting is three qualities: crushing strength (fingers and palm closing), pinching strength (thumb against fingers), and endurance (holding a firm grip through a long string of fire without shaking). A program that only trains crushing strength leaves you fading on the last few rounds. Build all three.
The Three Qualities You Are Training
- Crushing strength, closing the fingers and palm. A hand gripper trains this, and it supports the shooting hand's grip on the frame.
- Pinching strength, thumb pressing against the fingers. This supports support-hand contact and magazine handling.
- Endurance, sustaining firm pressure for 20-60 seconds without losing tension, keeping your grip consistent from first shot to last.
Baseline Test Before You Start
Before week one, record a baseline to prove progress later.
- Dynamometer squeeze. Squeeze maximally with each hand on a hand dynamometer. Repeat three times per hand and keep the best number.
- Timed hold. Hold a hand gripper closed at light-to-moderate tension for as long as you can, up to 60 seconds. Record the time.
- Grip-and-hold a weight. Hold a dumbbell or loaded magazine in a firing grip for time. Record how long before your grip shakes.
Write these three numbers down, they are your baseline, retested every four weeks.
The 8-Week Progressive Plan
Train grip 3 days per week on non-consecutive days (e.g., Monday, Wednesday, Friday). Keep sessions to 10-15 minutes and increase only one variable at a time: reps, resistance, or hold time.
Weeks 1-2, Establish form and baseline
- Hand gripper: 2 sets of 10 reps per hand, 2-second hold at the close, slow release.
- Pinch holds: pinch two stacked plates or a thick book between thumb and fingers for 15 seconds, 2 sets per hand.
- Timed gripper hold: 20 seconds per hand, 2 sets.
Weeks 3-4, Add volume
- Hand gripper: 3 sets of 12 reps per hand.
- Pinch holds: 20 seconds, 3 sets per hand.
- Timed gripper hold: 30 seconds per hand, 3 sets.
Weeks 5-6, Add resistance
- Move to a heavier gripper tension. Drop reps back to 8-10 per set to account for the added load.
- Hand gripper: 3 sets of 8-10 reps per hand.
- Pinch holds: 25 seconds, 3 sets per hand.
Weeks 7-8, Build endurance and vary load
- Alternate a heavy day and a light day each week.
- Heavy day: 4 sets of 6-8 reps on the heavier gripper.
- Light day: 2 sets of 20 reps on the lighter gripper plus 45-second timed holds.
Progression Rules
- Increase reps before you increase resistance. Add reps until you hit the top of the range, then move up in tension and reset to the bottom of the range.
- Never increase volume and resistance in the same week.
- If your grip is still sore at the start of the next session, repeat the previous week instead of advancing.
Grip Strength Versus Grip Technique
Stronger hands do not automatically produce tighter groups. Grip strength gives you the capacity to hold the gun firmly; technique determines whether that firmness is applied evenly without disturbing the sights. A shooter with average strength and excellent pressure balance usually out-shoots a stronger shooter who milks the grip or lets the support hand go slack.
Bulletproof Pistol Speed Loader →
Tracking Progress
Retest the same three baseline measures every four weeks, on a rest day, at the same time of day.
- Dynamometer: expect gradual gains over 8-12 weeks of consistent training. Compare against your own baseline rather than someone else's number.
- Timed hold: often the fastest-moving metric and the one most tied to shooting endurance.
- Range metric: record group size at 10, 15, and 25 yards. If grip strength is rising but groups are not tightening, the limiting factor is technique, not strength, shift training time toward dry-fire and pressure balance.
How Often Should I Train Grip Strength for Shooting
Train grip strength 3-4 times per week, giving your hands recovery time between sessions while building consistent gains.
If you shoot 2-3 times per week, those range days count as grip training. Add 1-2 dedicated grip sessions on non-shooting days to prevent overuse.
Rest days matter, muscles grow during recovery, not during the workout. A typical schedule: grip work Monday, range Wednesday, grip work Thursday, range Saturday, rest Sunday.
Dry-Fire Practice for Pistol Accuracy
Dry-fire practice builds trigger control and sight stability without ammunition costs, one of the most effective ways to improve accuracy between range sessions.
Safe Dry-Practice Setup and Drills
Set up a safe space. Point your firearm downrange at a safe backstop, never at anything you're not willing to destroy.
Use a snap cap or dummy round to protect your firing pin.
A basic drill: dry-fire at a target 10 feet away. Focus on your sight picture.
Do 10-15 dry-fire reps, rest 30 seconds, and repeat for 3-5 sets, 2-3 times per week.
Measuring Grip Strength and Tracking Progress
Measure grip strength with a hand dynamometer: squeeze as hard as you can and record the number as your baseline.
Retest every 4 weeks. Most shooters gain 10-15 pounds of grip strength in 8-12 weeks of consistent training.
Track shooting performance too: measure group size at 10 yards. As grip strength increases, groups should tighten. Document progress with photos or measurements.
Hand Size, Mobility, and Accessibility
There is no single correct grip for every shooter. Hand size, finger length, wrist mobility, and pistol dimensions all change what works. The goal isn't to copy someone else's hand position, it's to find the position that lets you apply even pressure and isolate the trigger finger.
Matching the Pistol to Your Hand
- Grip circumference is the single biggest fit factor. Too large forces your trigger finger to reach, pulling your sights off target; too small crowds your fingers and reduces control.
- Trigger reach matters as much as grip size. If you can only press the trigger with the very tip of your finger, the pistol is too large. You want the trigger to land between the tip and the first joint of your index finger.
- Single-stack versus double-stack magazines change grip width noticeably. Many shooters with smaller hands find a single-stack or slim-frame pistol easier to control.
Adaptations for Smaller Hands
- Rotate the shooting hand slightly so the trigger finger reaches the trigger without stretching.
- Use a higher grip on the frame to shorten the distance to the trigger.
- Consider a shorter trigger or a flatter trigger face to reduce reach.
Adaptations for Larger Hands
- Watch for the support hand crowding the shooting hand and pushing the muzzle off line.
- A slightly lower support-hand position can prevent fingers from interfering with the trigger guard.
- Larger hands often benefit from a fuller grip panel or a backstrap that fills the palm.
Limited Mobility, Arthritis, and Injury
If you have reduced finger or wrist mobility, prioritize technique and fit over raw strength.
- Straight-line trigger press. Keep the trigger finger moving straight back. A bent or angled press pushes the muzzle sideways.
- Wrist alignment. Keep the wrist as neutral as your mobility allows. A locked, straight wrist absorbs recoil better than a bent one.
- Lower-recoil options. A heavier pistol or lighter-recoil ammunition reduces the demand on your grip and hands.
- Grip aids. Textured grips, grip tape, or gloves improve traction so you need less raw force to hold the gun steady.
Managing Fatigue During a Session
- Take breaks between strings of fire instead of shooting continuously.
- Keep a loose, relaxed hand between stages and only apply firm pressure when you are on target.
- If your grip starts to shake or your groups open up, that is fatigue, not a technique failure. Rest, then resume.
Practice Setup for Any Hand Size
Whatever your hand size, the same fundamentals apply: high support-hand contact, even pressure, straight trigger press, and a straight wrist. Adjust the pistol and grip to fit your hand, then train the fundamentals until they are automatic. A grip that fits you will always out-perform a textbook grip that does not.
Faster Follow-Up Shots and Shot Grouping
Tight shot grouping shows consistency. Consistent grip pressure, trigger control, and sight alignment produce tight groups; loose groups mean one of these is varying.
Track group size at 10, 15, and 25 yards. As grip strength and technique improve, groups should shrink at all distances, proof the training works.
The Bulletproof Pistol Speed Loader reduces hand fatigue during magazine loading, letting you focus your grip strength training on shooting technique instead of fighting difficult loaders.

Frequently Asked Questions
How does grip strength affect shooting accuracy?
Grip strength directly controls recoil management and sight stability. A stronger grip reduces unwanted hand movement during the firing sequence, keeping your sight picture steady through the trigger press. Weak grip pressure allows the pistol to shift in your hand, causing shot grouping to scatter. Proper grip strength also reduces hand fatigue during extended range sessions, maintaining consistency across multiple shots.
What exercises improve grip strength for shooting?
Isometric holds with hand grippers, stress balls, and dedicated handgrip trainers build finger and hand strength specific to shooting. Start with 30-second holds at moderate tension, then progress to longer durations and increased resistance. Wrist stability exercises using light weights also support shooting performance. Train 3-4 times per week, allowing at least one rest day between sessions to prevent overuse and hand fatigue.
How often should I train grip strength for shooting?
Train grip strength 3-4 times per week for best results. This frequency allows adequate recovery while building endurance without overtraining. Combine dedicated grip exercises with range practice and dry-fire drills to reinforce grip technique under realistic shooting conditions. Rest days between sessions prevent hand fatigue and injury, which are critical for long-term shooting performance.
Can I improve my grip strength if I have small hands?
Yes. Hand size does not prevent grip strength gains. Focus on consistent finger placement, high support-hand positioning, and proper pressure distribution rather than crushing force. Start with lighter grip-training tools and progress gradually. The Bulletproof Pistol Speed Loader works with magazines from most major brands and calibers like 9mm, .40 S&W, and some .380, making it accessible regardless of hand size, and reduces thumb fatigue during loading so you can train longer.