 how-to
How to Improve Shooting Accuracy for Beginners
Table of Contents
- Start with Firearm Safety and Supervised Instruction
- Master Your Shooting Stance and Posture
- Develop Proper Grip and Hand Placement
- Understand Sight Alignment and Sight Picture
- Perfect Trigger Control for Accurate Shooting
- Use Dry Fire Practice for Beginners to Build Consistency
- Create a Structured Practice Plan with Measurable Goals
- Avoid Common Accuracy Mistakes
- Frequently Asked Questions
Last Updated: October 13, 2026
Start with Firearm Safety and Supervised Instruction
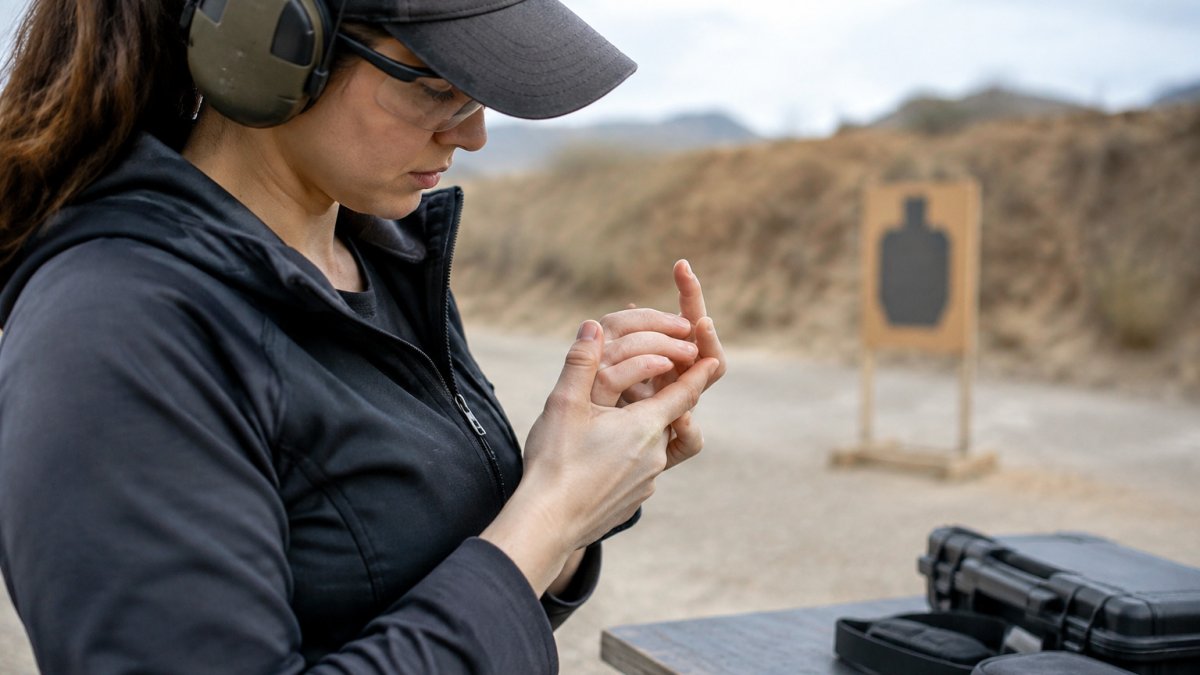
Before you focus on how to improve shooting accuracy for beginners, safety comes first. Firearm safety isn't optional, it's the foundation of everything you do at the range. The most accurate shooter in the world who doesn't follow safety rules is dangerous.
Get proper instruction from a certified range officer or firearms instructor. This isn't just advice. Supervised training prevents accidents and teaches you correct fundamentals from day one. Bad habits formed early are hard to break.
Key safety rules every beginner must follow:
- Keep your finger off the trigger until you're ready to shoot
- Always point the firearm in a safe direction
- Keep the firearm unloaded until you're ready to use it
- Be aware of your target and what's beyond it
- Wear proper eye and ear protection every time
Many ranges offer beginner courses that cover both safety and basic accuracy fundamentals. Take one before you spend money on gear or ammunition.
Master Your Shooting Stance and Posture
Your stance and body position directly affect accuracy. A stable base means consistent shots. An unstable stance means your groups will spread.
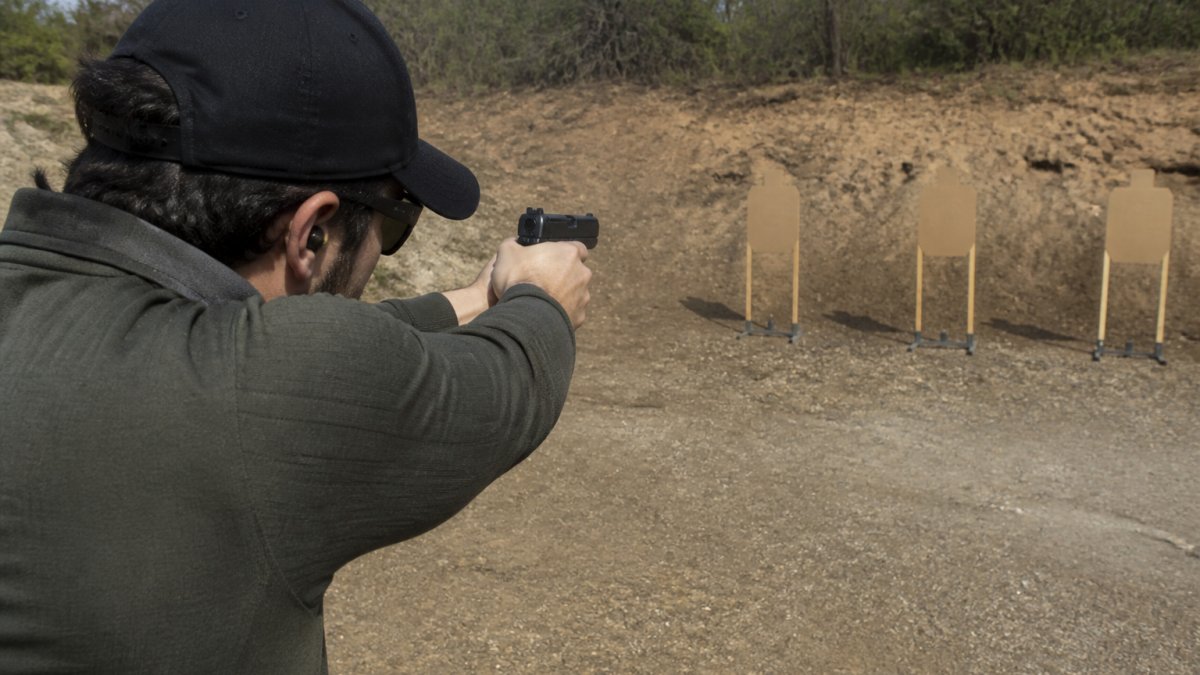
The isosceles stance is the most common for pistol shooting. Stand with your feet shoulder-width apart. Point both feet toward your target. Keep your knees slightly bent, not locked. Lean forward slightly from the ankles, not the waist.
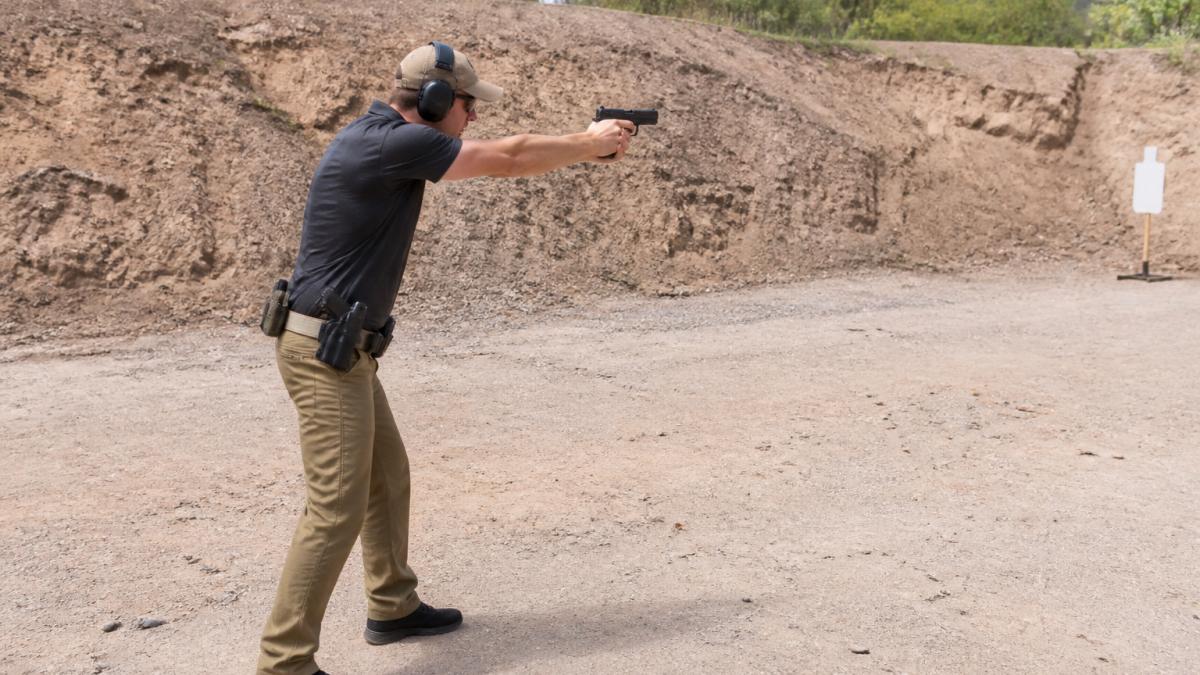
For rifle shooting, the prone position (lying down) offers the most stability. If you're shooting from a bench, keep your feet flat on the floor and your back against the chair. Your shooting arm should be supported by the bench or a rest.
Common stance mistakes:
- Standing too upright (reduces stability)
- Feet too close together (narrows your base)
- Leaning back instead of forward (throws off aim)
- Twisting your torso (creates inconsistent alignment)
A stable stance feels awkward at first. That's normal. Practice standing in position for 30 seconds without a firearm. Feel where your weight sits. Once your stance is automatic, your accuracy will improve faster than you expect.
Develop Proper Grip and Hand Placement
Your grip controls the firearm. A weak grip causes the gun to move during the shot. A tight grip causes you to jerk the trigger.
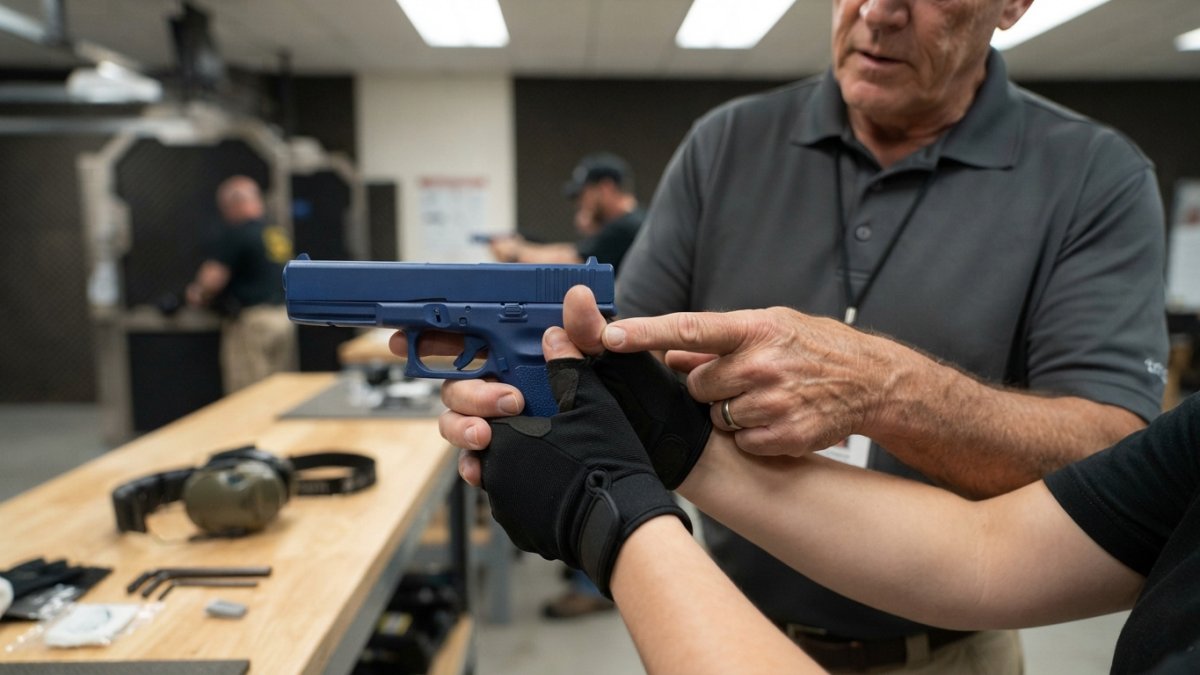
For pistols, grip the firearm high on the backstrap. Your web (the space between thumb and index finger) should be as high as possible. This reduces muzzle flip and recoil.
Use both hands. Your dominant hand wraps around the grip. Your support hand wraps over it, with all four fingers of your support hand gripping firmly.
Grip pressure matters. Many shooters grip too hard. A firm grip is different from a death grip. Your forearms should feel engaged, not shaking. Practice with a firearm that has no ammunition.
For rifles, your support hand grips the foregrip or handguard. Your dominant hand operates the trigger. Keep your elbows tucked close to your body for stability. This reduces movement and improves accuracy.
Hand placement is especially important if you have small hands. Many shooters with smaller hands worry that standard-size grips won't work. The answer is that proper technique matters more than hand size.
Understand Sight Alignment and Sight Picture
Sight alignment and sight picture are two different things. Many beginners confuse them.
Sight alignment is the relationship between your front sight and rear sight. They must be perfectly level and centered. Your front sight should be centered in the rear sight notch.
Sight picture is where the sights point relative to your target. Good sight alignment means nothing if you're pointing at the wrong spot.
Focus on your front sight, not your target. This is critical. Your eye can only focus on one thing at a time.
For optics, focus on the reticle. Keep your eye on the reticle and the target area. Your optic should be zeroed (adjusted so shots land where the reticle points) before you start practicing.
Zeroing means adjusting your sights so that where you aim is where the bullet goes. This is essential. An unzeroed firearm teaches bad habits.
Many beginners skip zeroing because they think it's complicated. It's not. Most ranges can help you zero. Ask a range officer. Spend 15 minutes zeroing.
Perfect Trigger Control for Accurate Shooting
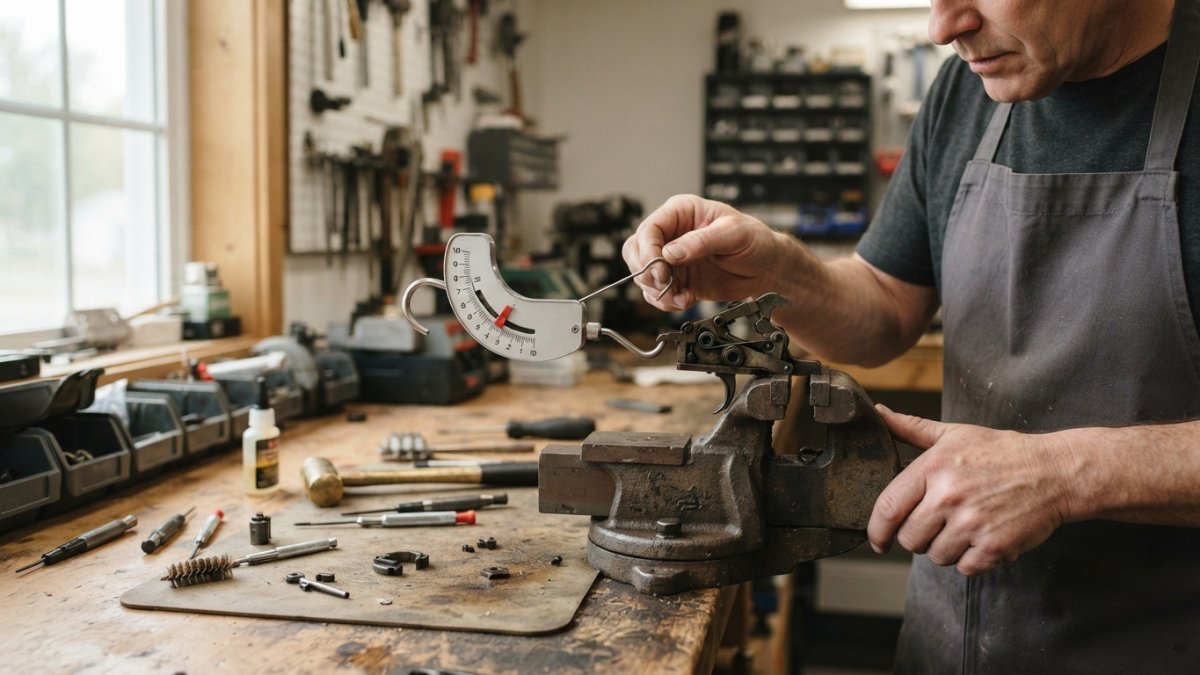
Trigger control is where most beginners struggle. A poor trigger press ruins an otherwise perfect shot.
The trigger press should be a slow, smooth squeeze. Not a jerk. Not a slap. A steady squeeze straight back.
Press the trigger with the pad of your index finger, not the tip. The pad gives you better control. Keep your finger straight, don't curl it at the knuckle.
The most common mistake is anticipating the shot. You know the gun will recoil. Your body tenses up. Your finger jerks the trigger instead of squeezing it.
Dry fire practice helps with this. Dry fire means practicing with an unloaded firearm. You press the trigger without the recoil. This teaches your finger to move straight back without flinching.
Many shooters torque the shot, they unconsciously twist the firearm as they press the trigger. This happens because your hand muscles are stronger than your trigger finger.
Trigger control takes time to develop. Most beginners need 200-300 dry fire repetitions before it becomes automatic. That sounds like a lot. It's not.
Use Dry Fire Practice for Beginners to Build Consistency
Dry fire practice is the most efficient way to improve accuracy. You can practice at home. No ammunition needed. No range fees.
Dry fire teaches trigger control, sight alignment, and breathing without the distraction of recoil. Your focus is on the fundamentals, not on flinching.
Safe dry fire practice requires one rule: verify the firearm is unloaded. Check twice. Remove all ammunition from the room. Then dry fire.
Point at a wall. Focus on your front sight. Squeeze the trigger slowly. Watch your sight picture. If the sights move when you press the trigger, you're jerking. If the sights stay steady, your trigger press is clean.
Do this 20-30 times per session. Three sessions per week. After two weeks, your trigger control will improve noticeably.
Advanced dry fire uses a target or a specific spot on the wall. Pick a small target, a coin, a mark, anything. Focus on your front sight. Press the trigger.
Dry fire practice costs nothing. It takes 10 minutes. It's the single most effective way for beginners to build consistency before live fire.
Create a Structured Practice Plan with Measurable Goals
Random shooting at the range doesn't build skills. A structured plan does.
Set a specific goal. Not "get better." Something measurable. Examples:
- Shoot five 5-shot groups at 7 yards and get them all under 3 inches
- Shoot 10 shots in 10 seconds and get 8 in the black
- Shoot 20 rounds and get zero flyers (shots outside your normal group)
Track your results. Write down your group sizes. Note what went right and what went wrong. This data tells you what to practice next.
A basic practice session looks like this:
- Warm up with 10 dry fires (5 minutes)
- Shoot 5-shot groups at your chosen distance (10 minutes)
- Review your groups and adjust (2 minutes)
- Shoot another 5-shot group (2 minutes)
- Rest and breathe (2 minutes)
- Repeat steps 2-5 twice more (20 minutes total)
This takes 30 minutes. You shoot 30 rounds. You get three separate groups to compare. You can see if you're improving.
Diagnosing Your Shot Groups
Your shot groups tell you what's wrong. Learn to read them.
If your shots spread left and right, you have a trigger control problem. Your finger is jerking side to side. Practice dry fire. Focus on pressing straight back.
If your shots spread up and down, you have a breathing problem. You're moving between shots. Breathe before you shoot. Hold your breath during the trigger press.
If all your shots are low, you might be pushing. Your hand is moving down as you press the trigger. This is a grip issue. Grip higher on the backstrap.
If all your shots are high, you might be anticipating recoil. Your body is tensing before the shot. Practice dry fire to get comfortable with the trigger press.
If your shots form a vertical line, your sight picture is inconsistent. Focus on your front sight. Make sure it's perfectly centered in your rear sight.
One flyer (a shot far from the group) is normal. Two flyers in a group of five means something is wrong. Identify the shot that was different.
Pistol vs. Rifle Accuracy Considerations
Pistols and rifles require different techniques.
Rifles are more forgiving. They're longer. They have better sights or optics. Your support hand is farther from the trigger. Rifles naturally group better than pistols.
Pistols are harder. They're shorter. Sights are smaller. Your support hand is closer to the trigger. Small movements have big effects on accuracy.
For pistols, start close. Shoot at 7 yards. Master the fundamentals there. Then move to 10 yards. Then 15. Don't move back until you can shoot tight groups at your current distance.
For rifles, you can start at 25 yards. Rifles are stable enough to shoot accurately at distance right away.
Pistol accuracy plateaus around 25 yards for most shooters. Beyond that, the gun becomes the limiting factor, not your skill. Rifles can shoot accurately at 100+ yards with proper technique.
If you shoot both, practice pistols first. The skills transfer to rifles. Pistol fundamentals are harder to master. Once you can shoot a pistol accurately, rifles feel easy.
Avoid Common Accuracy Mistakes
Most beginners make the same mistakes. Knowing them helps you avoid them.
Flinching is expecting recoil so your body tenses. Your trigger finger jerks. Your shot goes left.
Anticipation is similar. You know the gun will go bang. Your muscles tense before the trigger breaks.
Inconsistent grip means your hand position changes between shots. Your groups spread. The fix: practice your grip without a firearm.
Poor sight focus means you're looking at the target instead of your front sight. Your shots scatter.
Jerking the trigger instead of squeezing. Your shots go left. The fix: slow dry fire practice. Squeeze, don't jerk.
Moving your head between shots. Your sight picture changes. Your groups spread. The fix: keep your head still.
Breath holding too long. You run out of air. Your body tenses. Your shot goes off-target. The fix: breathe normally.
Not zeroing your sights. You compensate for the error. You develop bad habits. The fix: zero before you practice.
Shooting too fast. You don't have time to focus on fundamentals. Your groups open up. The fix: shoot slowly.
Learning how to improve shooting accuracy for beginners requires patience and consistent practice. Once you've mastered the basics, quality gear like our speed loaders keeps you efficient at the range.
Frequently Asked Questions
What are the most important fundamentals for improving shooting accuracy as a beginner?
The core fundamentals are grip, stance, sight alignment, trigger control, and breathing. Grip provides stability and consistency; stance creates a solid foundation; sight alignment ensures you're aiming correctly; trigger control prevents disturbing your aim; and breathing timing helps you fire at the optimal moment. Mastering these five elements in order, starting with grip and stance, will produce the fastest improvement in your shooting accuracy.
How often should a beginner practice to improve shooting accuracy?
Consistent practice beats occasional long sessions. Aim for weekly range visits of 30-60 minutes, focusing on one or two fundamentals per session rather than trying to fix everything at once. Between range trips, dry fire practice (with an unloaded firearm in a safe environment) for 10-15 minutes daily builds muscle memory without ammunition costs. Most beginners see noticeable improvement within 4-6 weeks of regular practice.
How can I tell if my shooting technique is improving?
Track your shot groups on paper targets at a fixed distance (typically 7-25 yards for pistols, 25-50 yards for rifles). Measure the distance from your tightest three shots, or the diameter of your entire group. If your group size shrinks week to week, your technique is improving. Also note consistency: tighter groups at the same distance indicate better trigger control and sight focus, which are hallmarks of advancing accuracy.
What's the difference between sight alignment and sight picture?
Sight alignment is the relationship between your front sight, rear sight, and eye, they must be perfectly centered and level. Sight picture is what you see when alignment is correct: the front sight centered in the rear sight notch, with the target slightly blurred behind it. You focus your eyes on the front sight, not the target. Correct sight alignment creates correct sight picture, which produces accurate bullet placement.